Last Update: Jan 28, 2022
OBS Studio is one of the great video software available nowadays for video recording and live streaming. On top of that, it is free and open-source. Available here, it is available for the 3 major systems: Windows, Mac and Linux.
We will learn in this quick tutorial how to setup OBS to start streaming on Twitch. As you will see, it’s really straight-forward.
Get your Twitch Stream Key
In order to start streaming on Twitch, you will first need to retrieve a key that we will later use in OBS in order to indicate on which channel to stream.
First, connect you on Twitch and on your account in the top bar.

In the appearing menu, click on “Dashboard”.
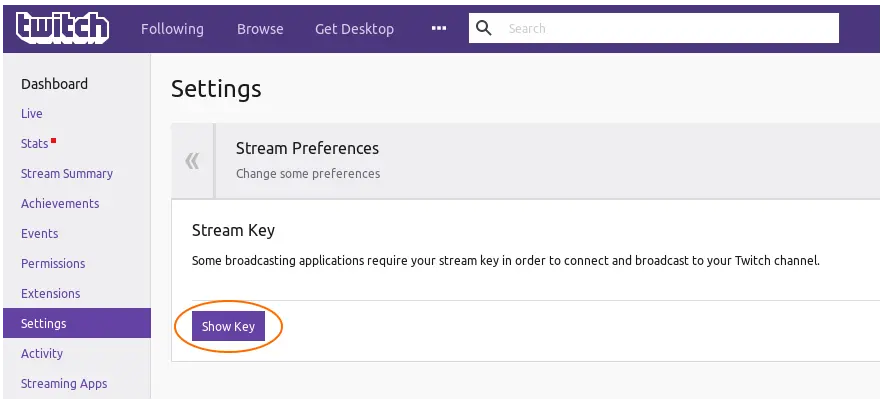
It will get you on a new page. In this new page, in the left menu, click on « Settings » then on the « Stream Key » link.

When the page is loaded, you will need to click on the button « Show Key »:
When clicking on the button, Twitch will show you an important warning:
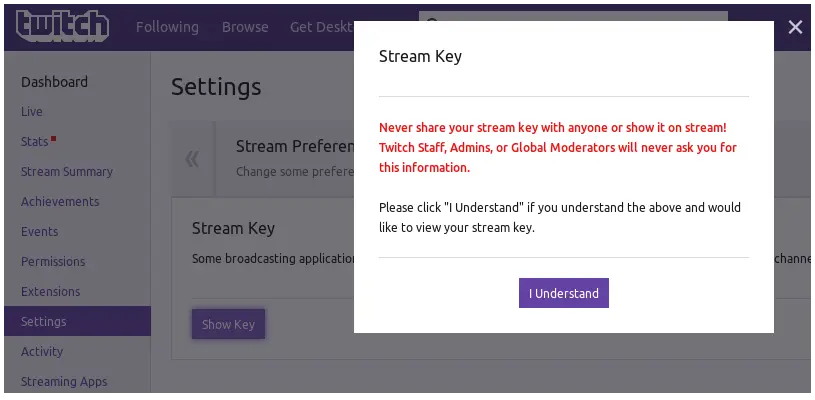
Your Stream Key will be used to stream on your channel, thus, it will be extremely important to not share it with anybody. It is purely personal, bound to your account and should remain private.
Please note that as said in the popup, neither Twitch Staff, Admins nor Global Moderators will ask you for this information. This is the same with Stream Maker Staff, we will never ask you this information.
When you are sure to get this point, click on the button « I Understand » and you Stream Key will appear:

This is the key that you will need to copy in OBS Studio.
Note that a « Reset Key » button exists if you need to reset your key.
Setup and configure OBS Studio
OBS Studio is quite easy to setup to start streaming.
After having installed it, you can start it: if the auto-configuration wizard appears, just answers « No » as we won’t need it. This window should appears:
Set your Twitch Stream Key
We will start by configuring the Twitch Stream Key in order to stream on your channel. Click on the « Settings » in the bottom right corner:
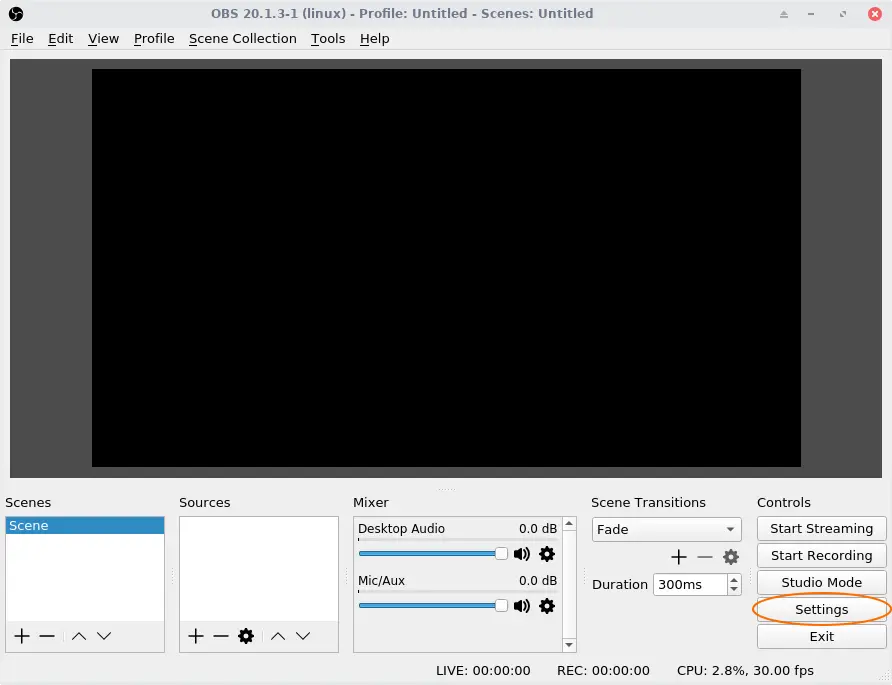
A settings window will appear, in the left menu, click on « Stream » and select Twitch in the « Service » option.
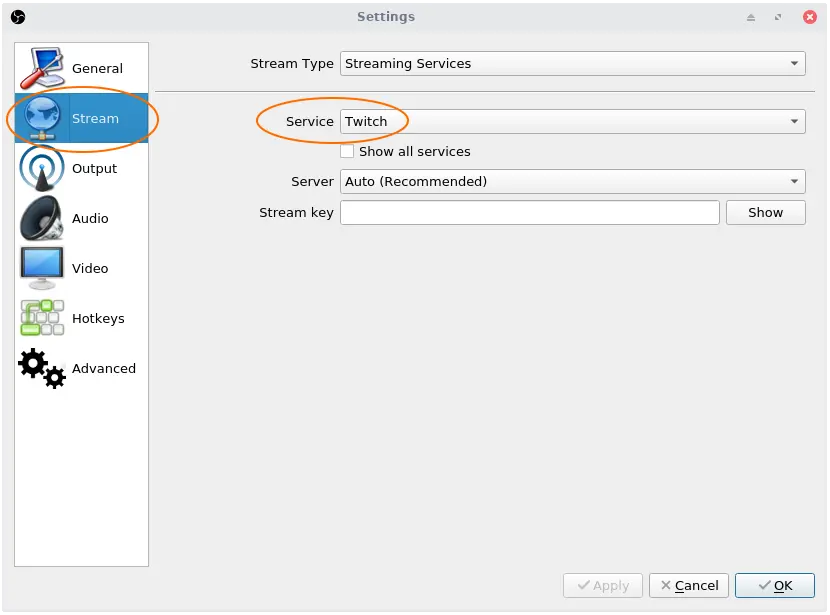
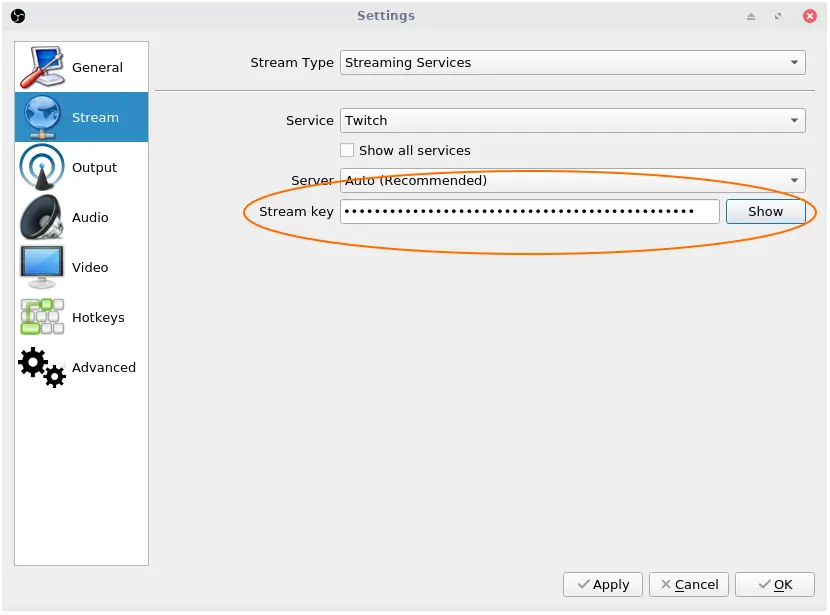
In the « Stream key » field, put your Twitch Stream Key that we’ve retrieved in the previous chapter. This will be used by OBS Studio to indicate on which channel the stream should be broadcasted.
At this point, only a few more steps are necessary and we will be ready to start streaming!
Configure the audio and video sources
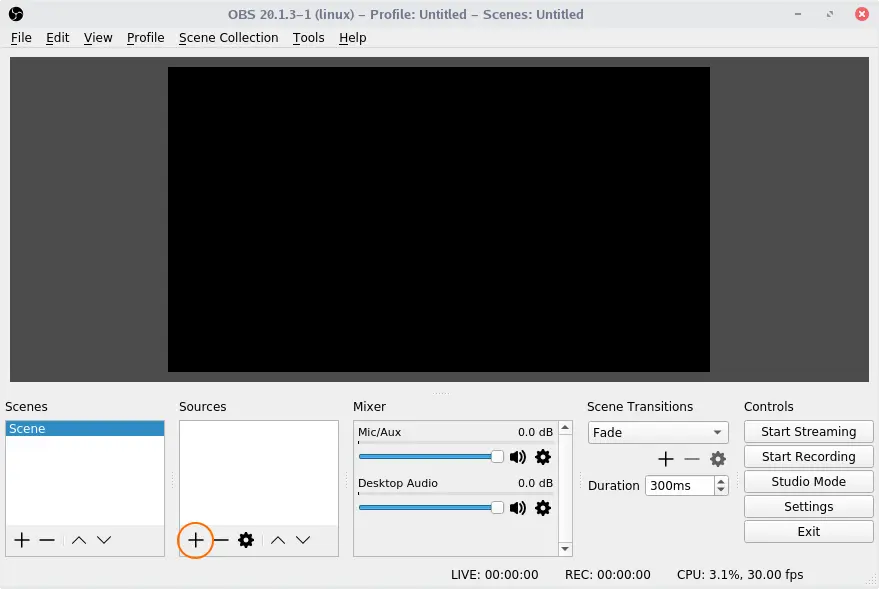
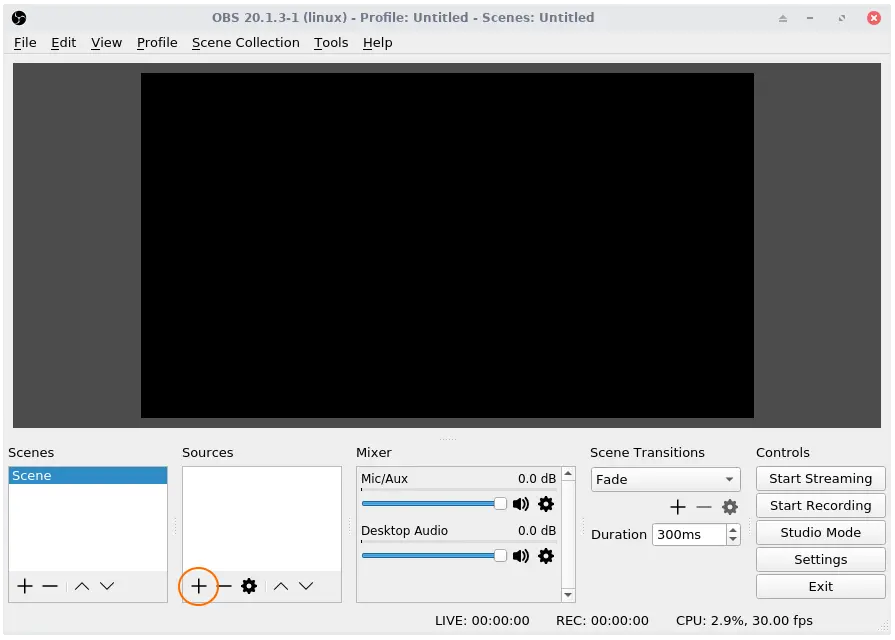
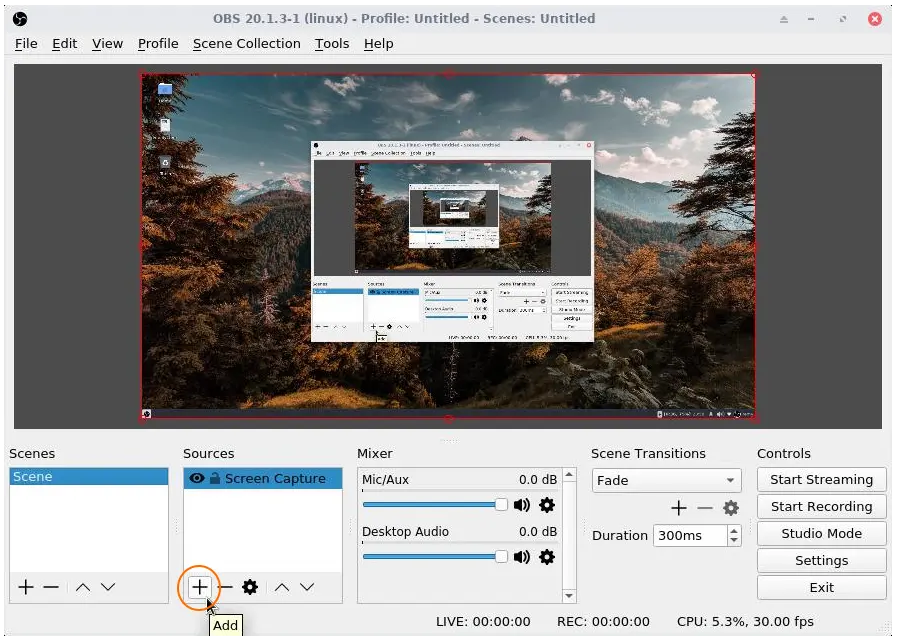
Back to the main screen of OBS, on the bottom left, we see that we’re configuring the scene called « Scene » and that there is no sources configured for it.
We will add some sources in order to provide a quality stream:
- A « Screen Capture »: it will be the capture of what you see on your screen, in order to show the game in your stream.
- An « Audio Output Capture »: for your viewers to hear the sound of the game.
- An « Audio Input Capture »: for your viewers to hear you.
- A « Video Capture Device »: for your viewers to see you.
- An « Image »: to display an overlay on your stream adding graphics making your stream nicer to watch.
Screen Capture
Let’s start with the « Screen Capture ». In the Sources box in the bottom left, click on the + button:
In the appearing menu, click on « Screen Capture »:
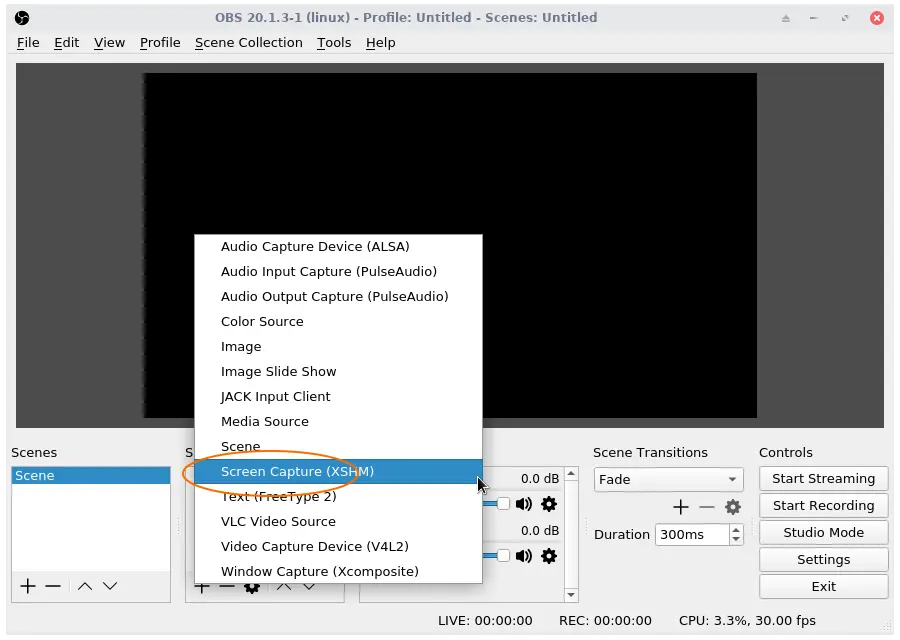
Depending on the OBS Studio version you have and the system you are using, the value between parenthesis could change (or they could not be any parenthesis at all), but we don’t have to really mind about it.
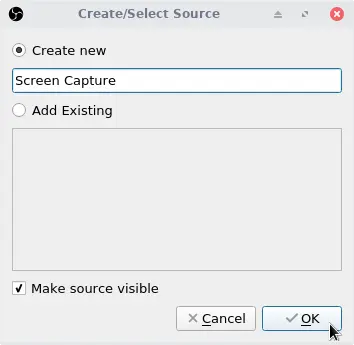
A window will ask you to give a name to this source. Feel free to name it as you want, for this tutorial, we will simply label it « Screen Capture »:
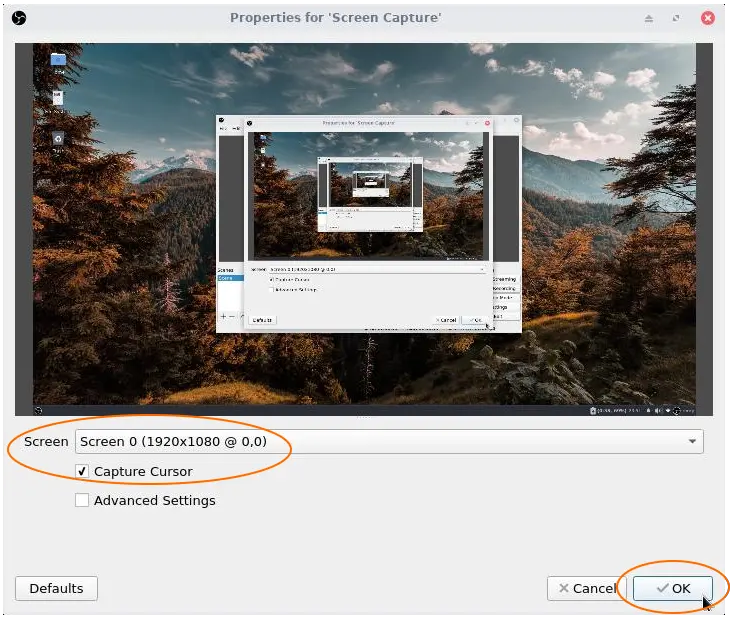
A new screen will appear in which you can choose which screen you want to capture and if you want to display your mouse cursor. When this configuration is done, you can click on the « OK » button.
Game Audio Capture
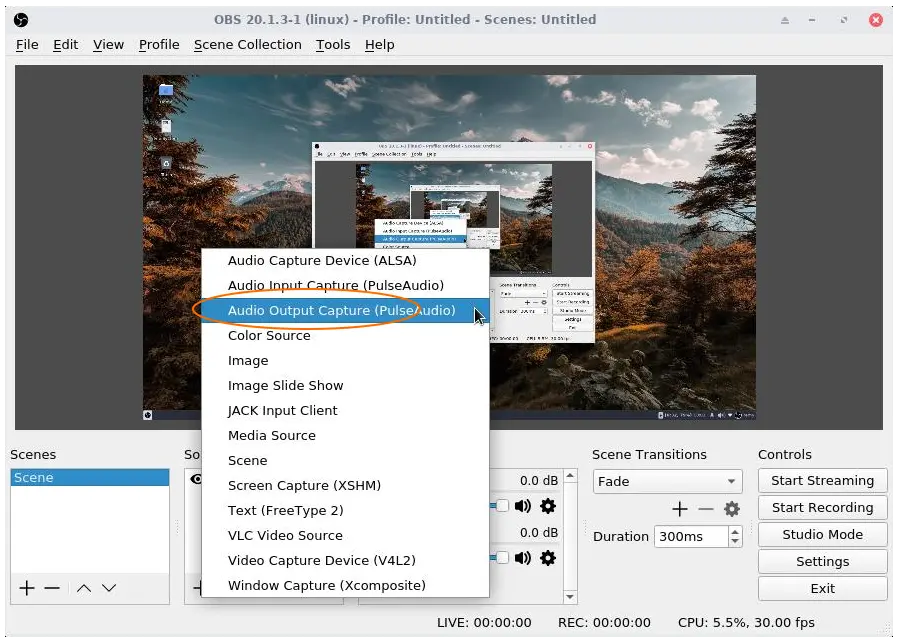
Adding other sources will follow the same ideas, click on the « + » button in the Sources box:
In the appearing menu, choose « Audio Output Capture ».
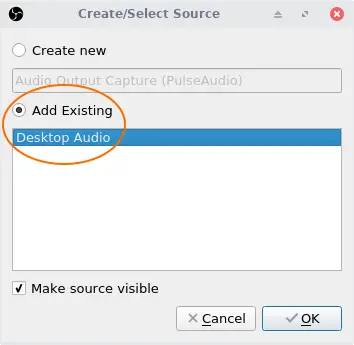
Again, a small window will appear but this time, choose the option « Add Existing » and select « Desktop Audio », you can then validate by clicking on « OK »:
Streamer Voice Capture
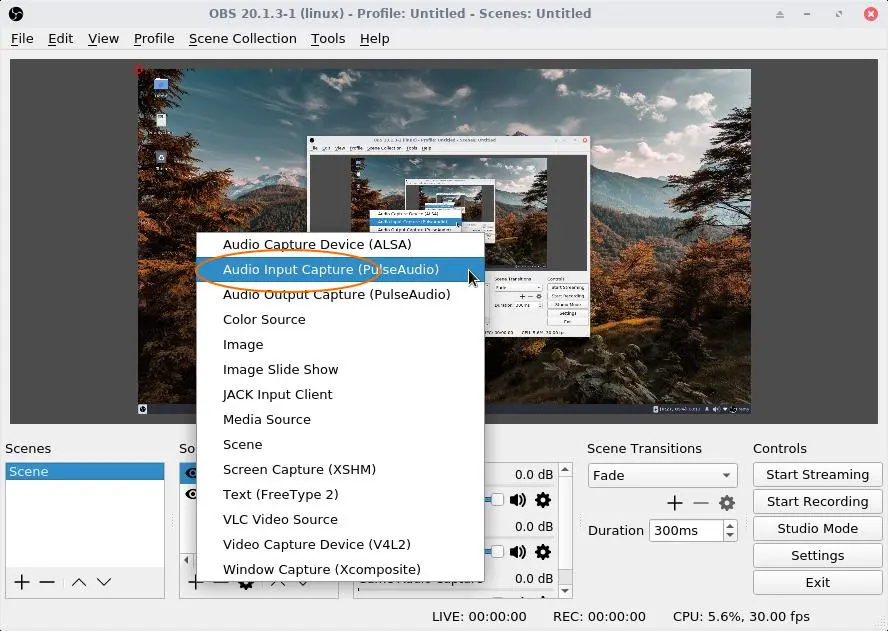
Again, click on the « + » button in the Sources box, but this time, select « Audio Input Capture »:
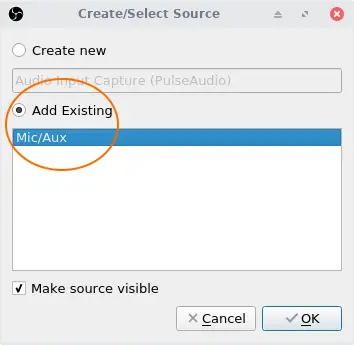
This small window is opening and you must select the option « Add Existing » and the « Mic/Aux » value, then you can validate by clicking on « OK ».
Streamer Cam Capture
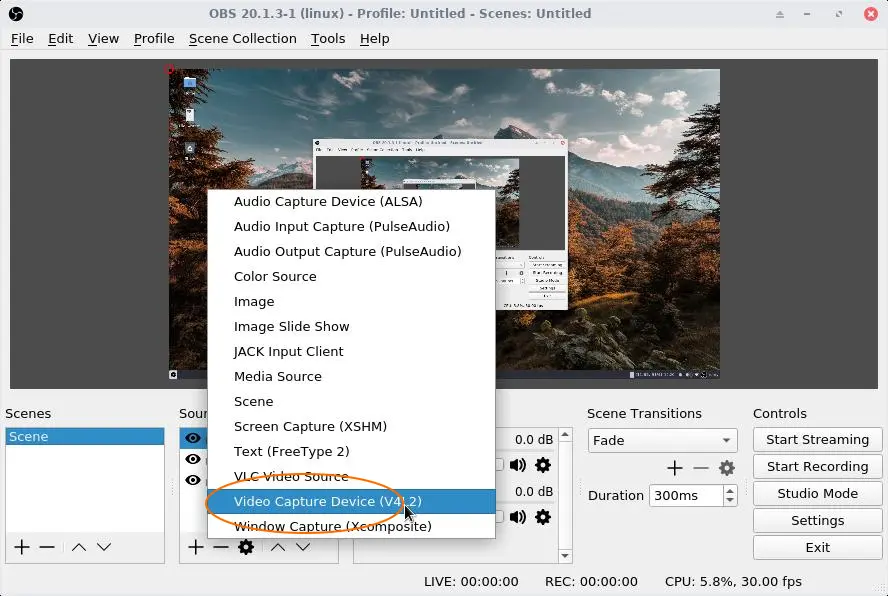
Click on the « + » button in the Sources box, but this time, select « Video Capture Device »:
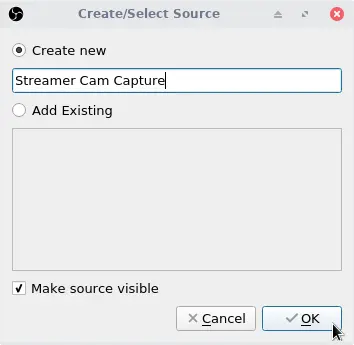
In the small window opening, enter a name for this source. We will go with « Streamer Cam Capture »:
When you validate the name, a window is opening to let you configure your camera capture configuration.
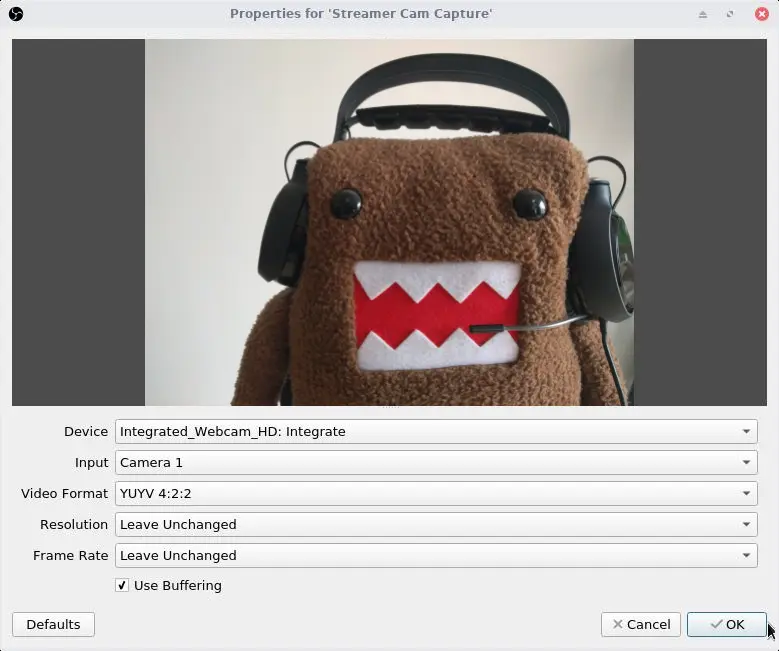
Select the settings you want to use then validate by clicking on « OK ».
Add an overlay
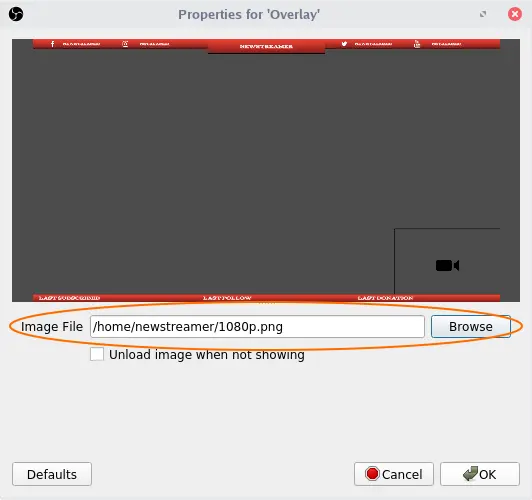
It is quite simple to finally add an overlay to the stream. Click on the « + » button in the Sources box, but this time choose « Image ». A small window will appear to choose the name, we will go with « Overlay »:

The next window will allow you to select the image to use as overlay. If you don’t have any overlay, don’t hesitate to use our creation tool to generate yourself a pretty one!
Sources order
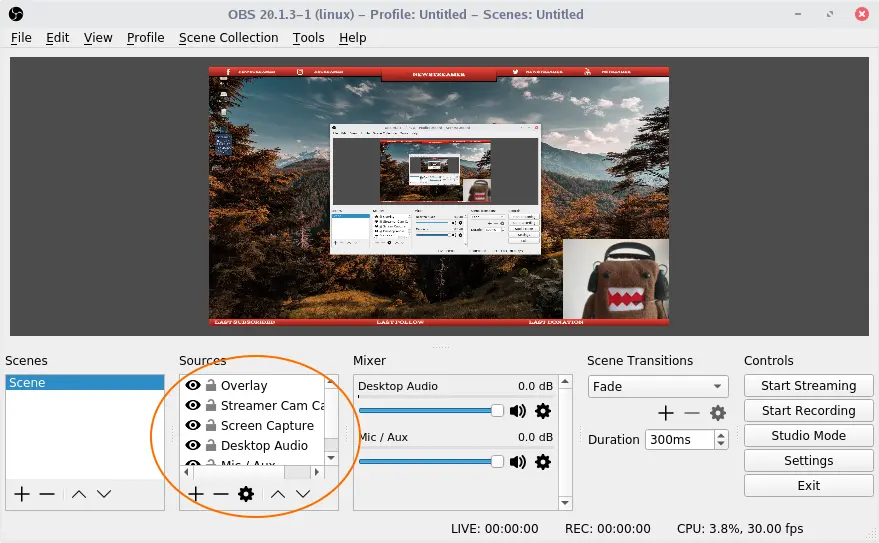
At this point, only one thing must be taken care of: the order of the sources.
Be sure that the order in the Sources box is:
- Overlay
- Streamer Cam Capture
- Screen Capture
- Desktop Audio
- Mic / Aux
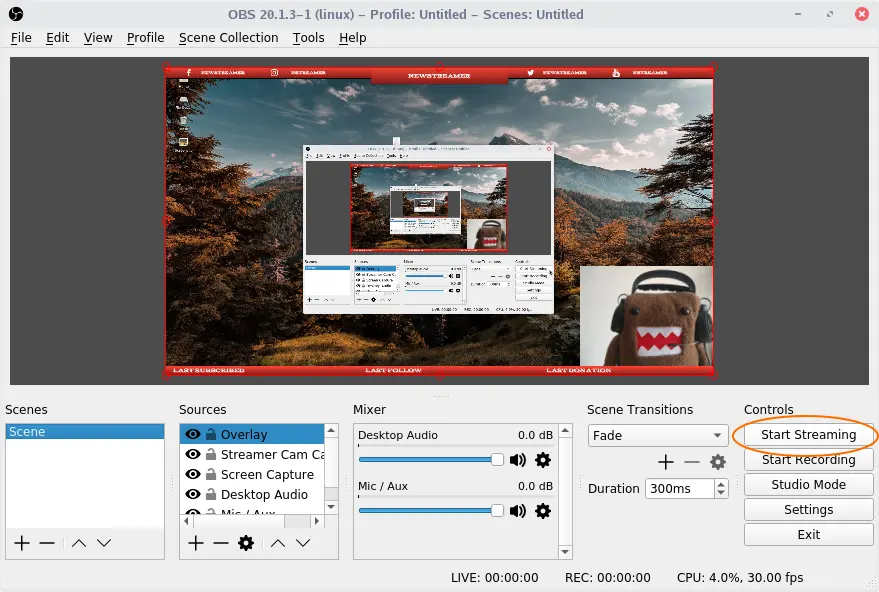
Start Streaming
Congrats! Everything is ready to start your stream! You just have to hit the button « Start Streaming » and start providing content to your viewers!
We hope this tutorial has been helpful to you. If you have any feedback or question, please feel free to send us an email on support@strmaker.com.
To go further, we have created an easy tool to generate all needed graphics for your stream and you can use it by clicking here.