Last Update: Jan 10, 2018
XSplit Broadcaster is a well-known software available for video recording and live streaming. XSplit Broadcaster being a great and easy tool, it is used by both amateurs and professionals streamers. Available here, it has a free version and it is only available for Windows.
We will see in this quick tutorial how to simply start streaming on Twitch using XSplit Broadcaster.
Configure XSplit Broadcaster
Configuring XSplit Broadcaster is done in a few easy steps. Let’s start the application:
Twitch Output
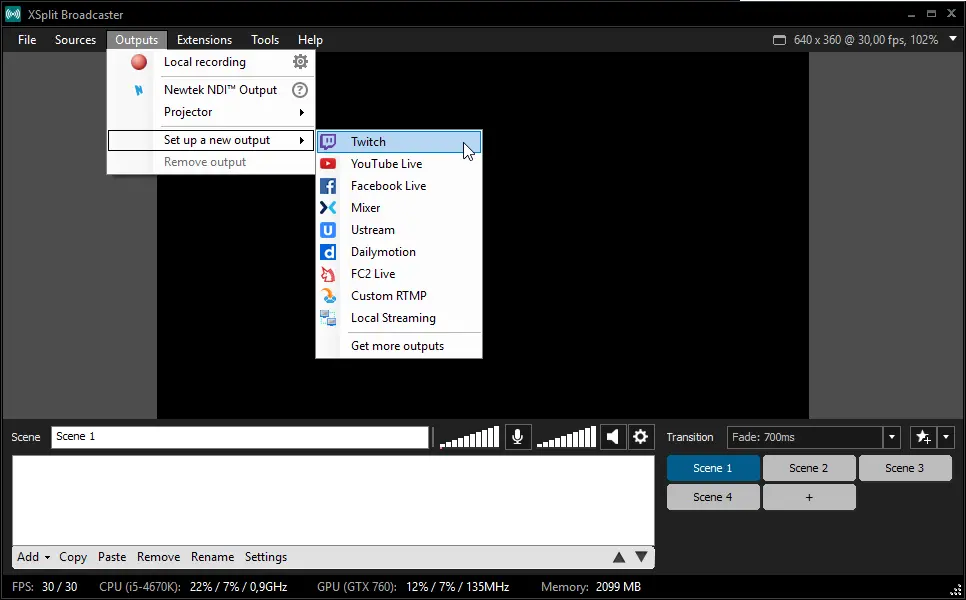
In order to stream on Twitch, XSplit Broadcaster has a really easy configuration step. Start by clicking on « Outputs > Set up a new output > Twitch » in the menu.
A wizard is opening, click on the « Authorize » button. You’ll be redirected to the Twitch login page, where you shall enter your credentials.
After having doing so, you’re already ready to stream on Twitch. Easy, isn’t it? Let’s now add the visual and audio content of your stream.
Configure the audio and video sources
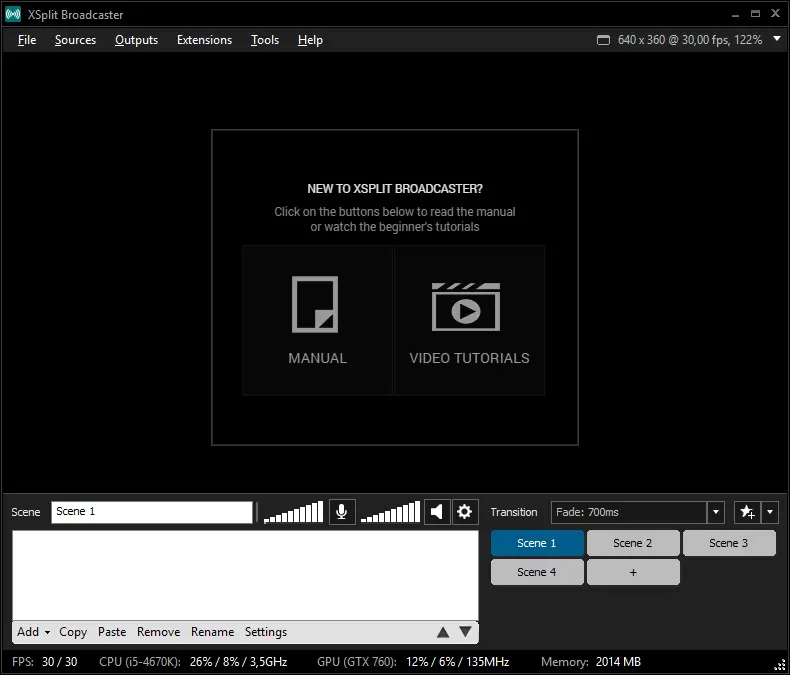
Back to the main screen of XSplit, on the bottom, we see that we’re configuring the scene called « Scene 1 » and that no source is configured for it.
We will add sources in order to provide a quality stream:
- A « Screen Capture »: it will be the capture of what you see on your screen, in order to show the game in your stream.
- A « Webcam capture »: for your viewers to see you.
- A « Media file »: to display an overlay on your stream adding graphics making your stream nicer to watch.
Screen Capture
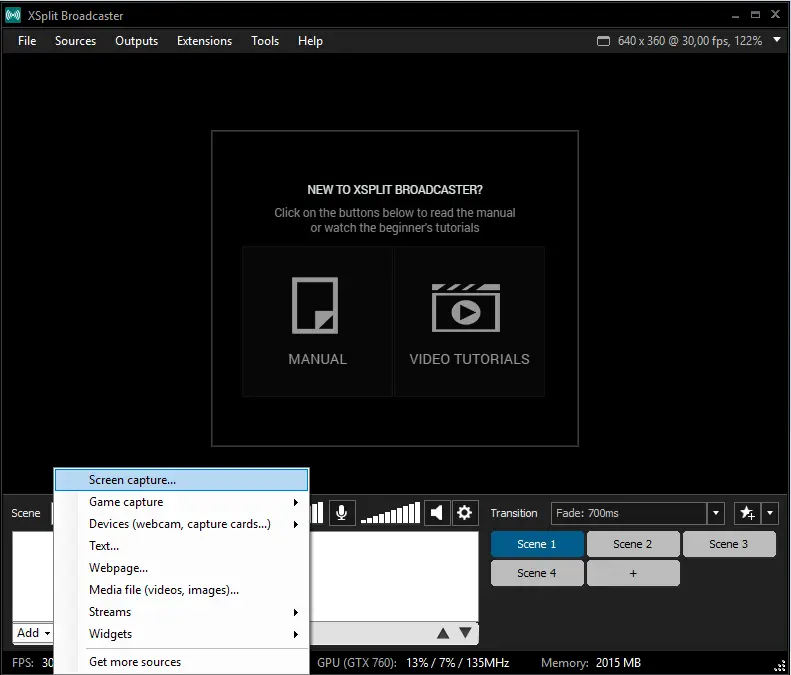
Start by clicking on the « Add » button, the whole list of what you can add is appearing:

In this list, select « Screen capture »:
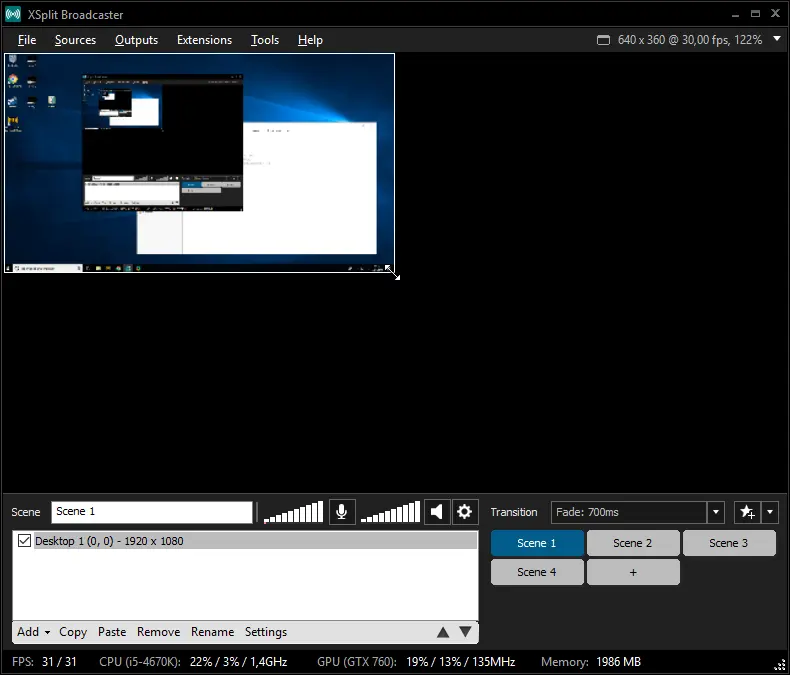
A selection tool is appearing, click on the top-left of your screen and drag the cursor through your screen to its bottom-right in order to capture your whole screen. It’ll then appear in the XSplit scene.
In the XSplit window, use the handle to resize the captured screen to fit the whole scene.
Streamer Cam Capture
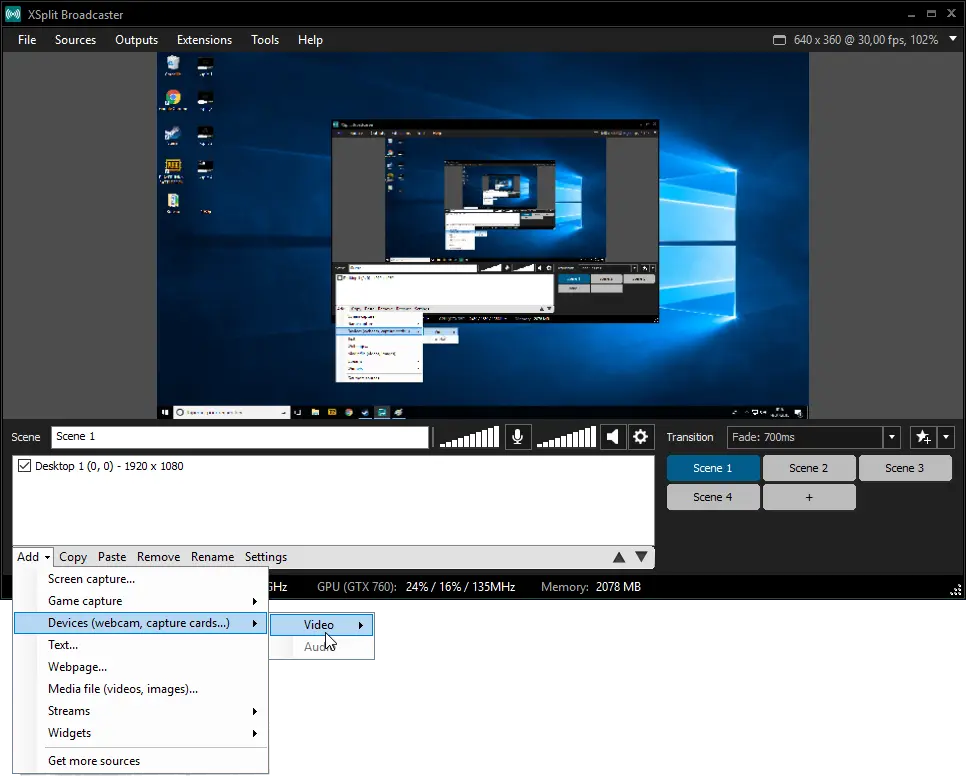
XSplit also has an easy way to add your webcam in the scene. Click on the « Add » button, in the menu, select « Devices (webcam, capture cards…) » then in the « Video » sub-menu, select your webcam. It’ll appear in the scene.
Move it to the wanted position. Note that you can also resize it using the handle at the border of the capture.
Overlay
It is quite simple to finally add an overlay to the stream. Click on the « Add » button and select « Media file (video, images) ».
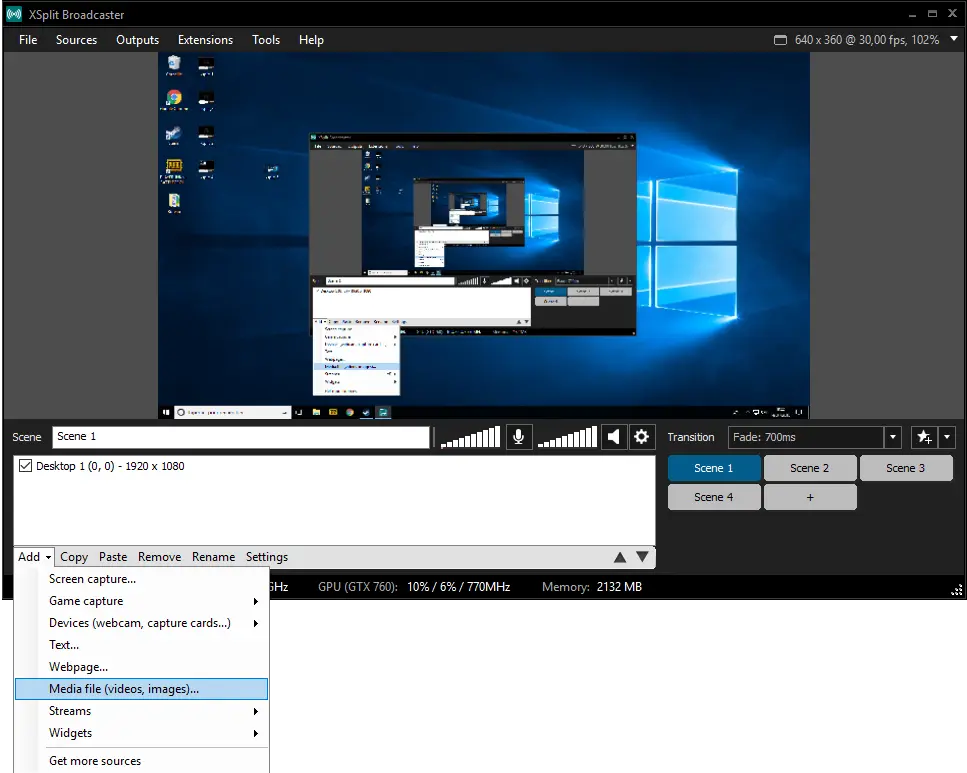
In the dialog box, select your overlay and validate, it will appear in the scene. Use the handle to resize it to fit the whole screen.
Sources order
At this point, only one thing must be taken care of: the order of the sources. Be sure that the order in the Sources box is:
- Overlay
- Streamer Cam Capture
- Screen Capture
Start Streaming
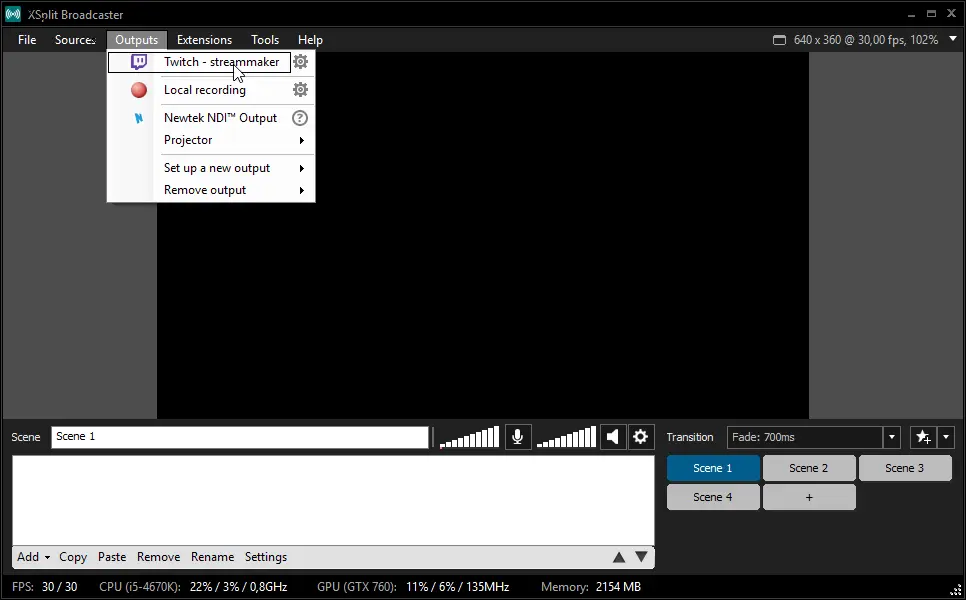
Congrats! Everything is ready to start your stream! In order to go live, you just have to hit the menu « Outputs > Twitch » and start providing content to your watchers!
We hope this tutorial has been helpful to you. If you have any feedback or question, please feel free to send us an email on support@strmaker.com.
To go further, we have created an easy tool to generate all needed graphics for your stream and you can use it by clicking here.