Last Update: Jan 27, 2022
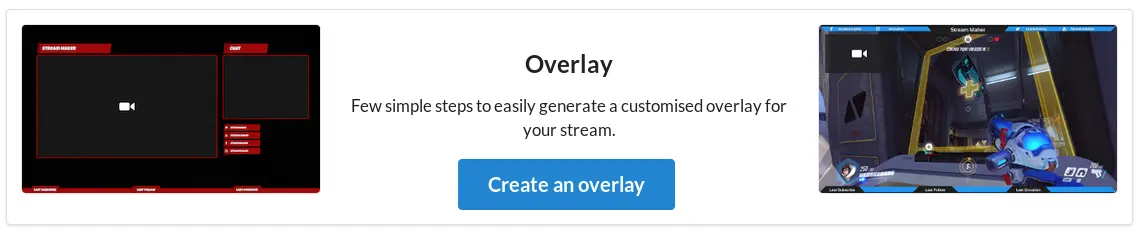
In this tutorial, you will learn how to create an overlay for Twitch or any other streaming platform by using the Stream Maker Creation Tool. In a matter of seconds, you will be able to download your own custom stream overlay.
Click here to go the creation tool and click on “Create an overlay” to start customizing your own overlay.
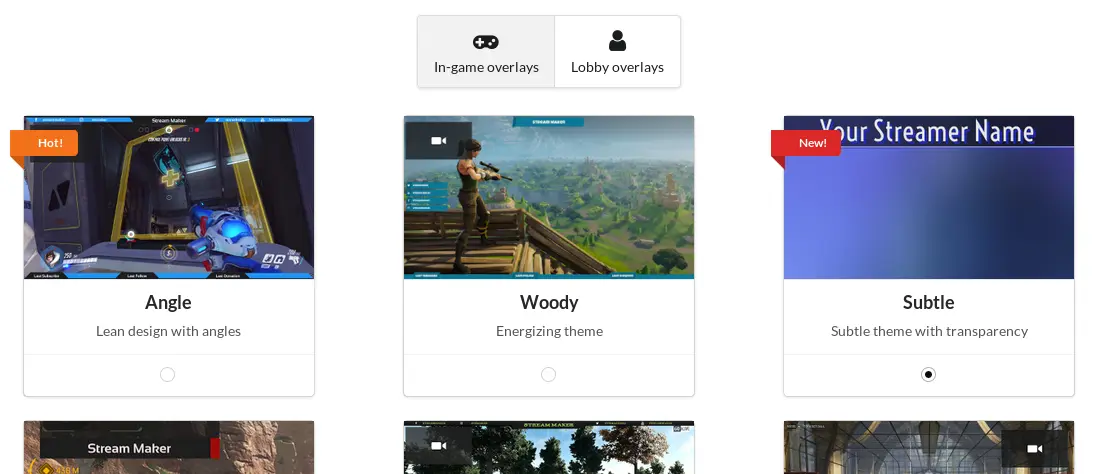
Select a theme
First things first, select in the list of available overlay templates / overlay themes the one that you prefer, the next few steps will be about customizing it to your taste. As you can see, we offer both overlay themes for in-game overlays and for lobby overlays.
For the purpose of this tutorial, let’s start with selecting the Subtle overlay theme: this theme is a neutral one that you can use to stream video games, to have a chat stream or anything else.
Start branding it with your username and social handles
The creation tool will first ask you to enter your username and your social handles. An username must be provided but the social handles are optional. If you don’t want to draw them in your overlay, feel free to let the social accounts fields empty!
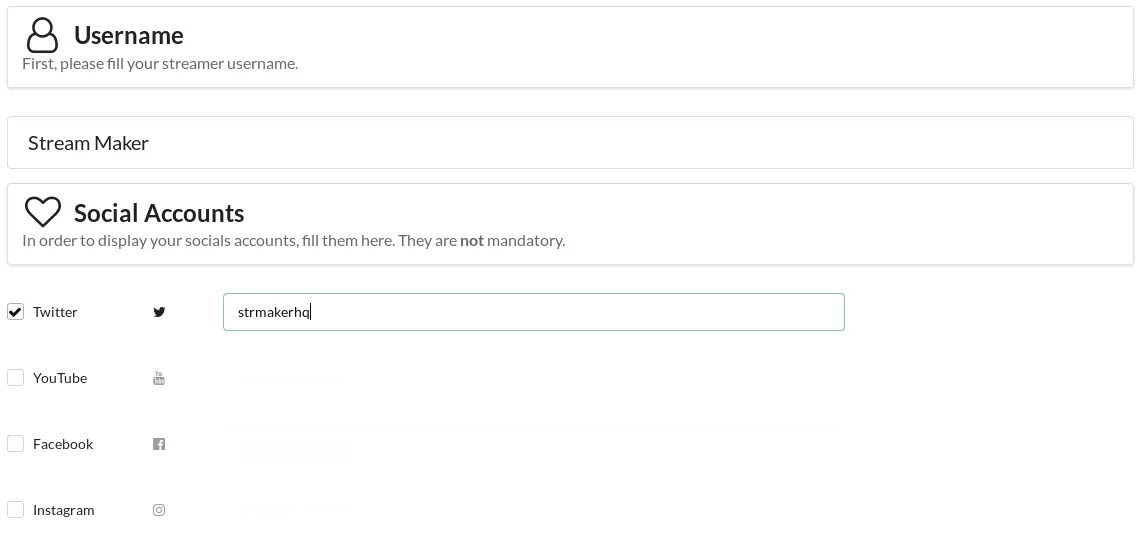
If you add a social handle, don’t forget to select the according checkbox.
Configure the options
Several options are then displayed to customize your overlay.
First, select where you want the camera box to be positioned in the overlay. Please note that there is also an option “No Camera” if you prefer to not have any camera box, which can be a good idea if you don’t have a webcam.
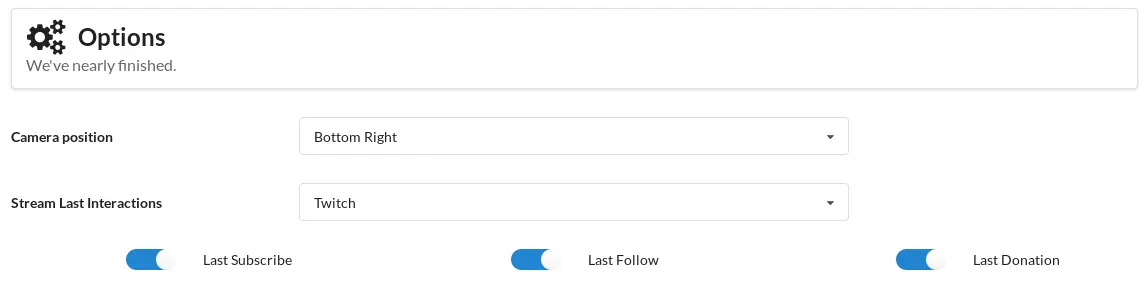
After that, you are able to customize a few fields drawn on your stream overlay about your last subscriber, your last follower, etc. You have the choice to use preset texts for Twitch or YouTube or to go with custom ones. Again, feel free to use the checkbox to disable the drawing of these texts on your overlay.
Colors
Last step, the tool let you select the colors of your overlay:
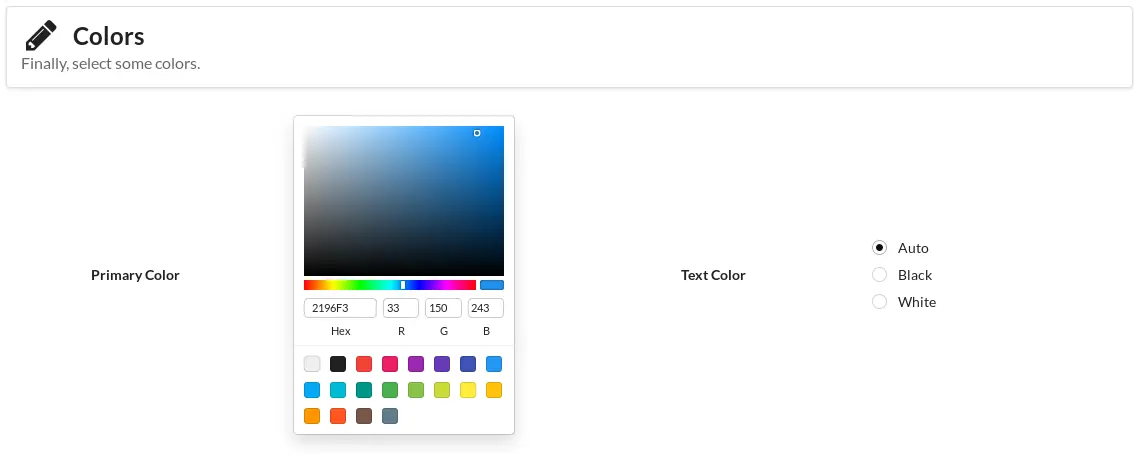
You have to select the main color you want to use in the overlay, and some of the themes will also let you select the text color between the “Auto”, “Black” or “White”. We recommend you to stick with the “Auto” mode which will select the best text color depending on your primary color selection.
Generate your custom overlay
And that’s it, by clicking on the “Make!” blue button, it will immediately
generate your overlay and it will automatically show you the preview!
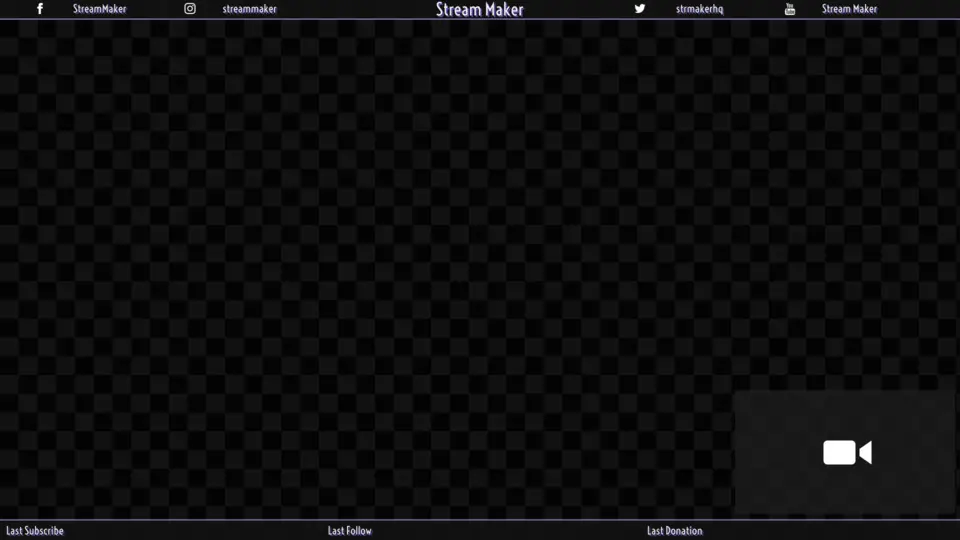
You will then be able to download your customized overlay.
Conclusion
In this tutorial, we’ve seen how easy and quick it is to create a custom overlay for your stream using the Stream Maker Creation Tool. We hope it will be helpful!
Click here to go to the creation tool.
If you need to learn how to setup OBS to start streaming, you can use this tutorial. If you have any feedback or question, send us an email on support@strmaker.com.