Last Update: Aug 1, 2019
OBS Studio is probably the greatest software available nowadays for video recording and live streaming. On top of that, it is free and it open-source.
We will see in this quick tutorial how to quickly start streaming on Mixer using OBS. As you will see, it’s really straight-forward.
Get your Mixer Stream Key
In order to start streaming on Mixer, you will first need to retrieve a key that we will later use in OBS in order to indicate on which channel to stream.
First, connect you on Mixer and click on your avatar on the top right:

In the appearing menu, click on “Broadcast Dashboard”.
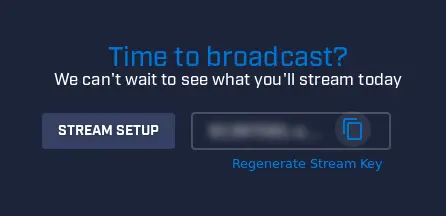
It will get you on a new page. In this new page and in order to copy your stream key, click on the copy/paste icon right to the blur text:
Configure OBS Studio
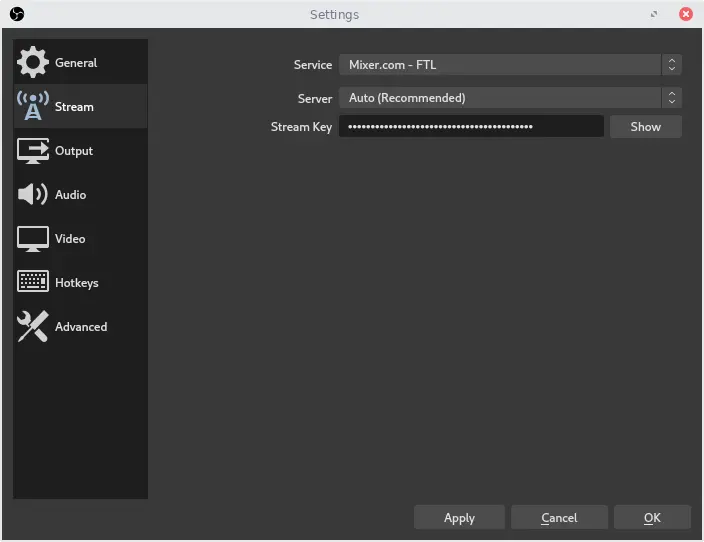
Now that your stream key is in your clipboard, go to the OBS settings and click on the “Stream” tab.
In this tab, choose “Mixer.com - FTL” in the Service field and paste your Stream Key in the dedicated field:
Start Streaming
Congrats! Everything is ready to start your stream! You just have to hit the button « Start Streaming » and start providing content to your watchers!
If you want to personalize your stream with overlays and more, you can go to this tutorial and directly start at the “Configure the audio and video sources” section.
We hope this tutorial has been helpful to you. If you have any feedback or question, please feel free to send us an email on support@strmaker.com.
To go further, we have created an easy tool to generate all needed graphics for your stream and you can use it by clicking here.